Adding and Managing Products
As an exhibitor you can showcase your products to those who visit your online profile. Adding products to your exhibitor profile greatly increases the likelihood of a reach-out from interested buyers. Follow this guide to manage your product catalogue.
Step 1: Login using your username and password (either as a team member with admin privileges, or as the main exhibitor account)
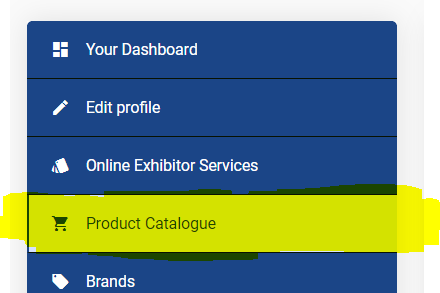
Step 2: Go to "Product Catalogue" in the left-hand menu in your profile.
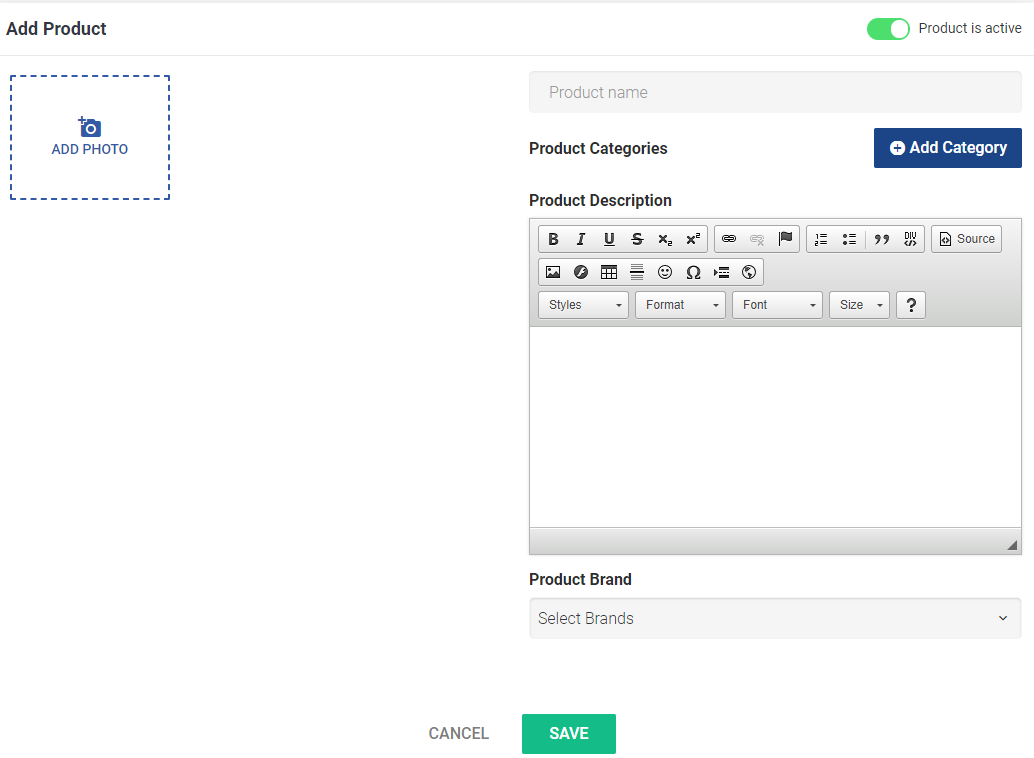
Step 3: Click on "Add Product"

Step 4: Enter all the information related to the product: Name, Description
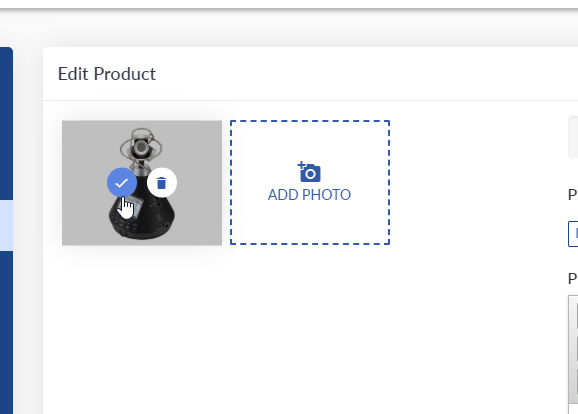
Step 5: Upload a product image --> By Clicking on Add Photo. You can upload up to 5 images and select which photo should be the main one by clicking the check mark when hovering over an image
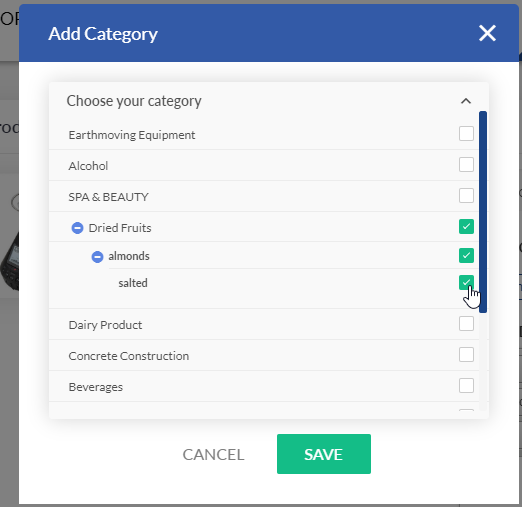
Step 6: Add Categories --> These are categories to which product is associated. When selecting a category in the category tree, all parent categories will also be selected. In the example below, the user selected the third level category "salted", which in turn also selects the parent category "almonds" and the corresponding parent category "Dried Fruits"
Step 7: Product Brands (optional) --> Select the "Brands" to which the Product is associated. Brands are selected from all globally available brands and may be shared across exhibitors and their products.
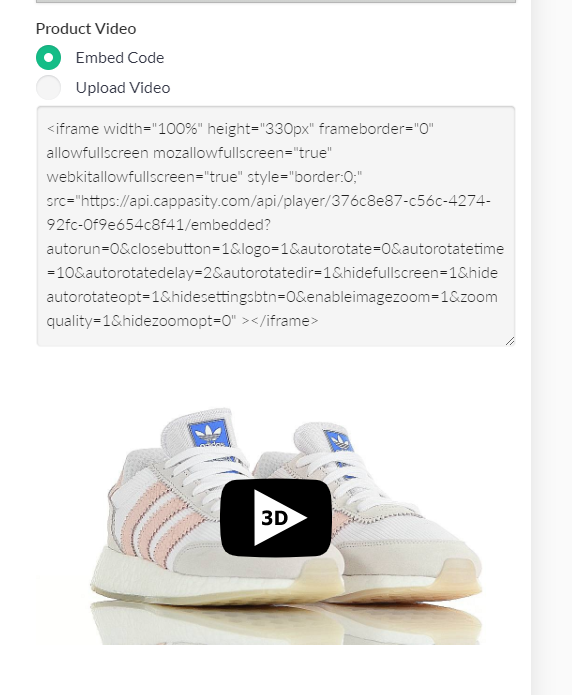
Step 8: Add a video or embeddable object -> select either Embed Code, or Upload (video only). Paste the embed code you wish to show on the product page. We recommend using YouTube and https://embedresponsively.com. Alternatively, select Upload and upload your video in mp4 format.
Step 9: Click "Save"
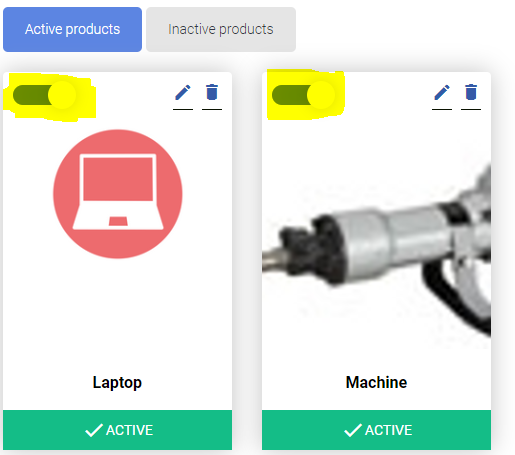
After successfully adding the product, you can also mark the products as "Active" or "Inactive". Products that are marked as "Active" are showcased in your exhibitor profile at this event. Products that are marked as "Inactive" are not displayed, but can be re-used in the future (e.g. at another event). The number of products you can have active at any given time may be limited.
The same can be done switching the toggle button: "ON" or "OFF" (As shown below)
There are separate tabs for "Active" & "Inactive" products which can be used to see currently active and in-active products. (As shown below)
Related Articles
Managing Team Members
As an exhibitor, you are able to manage the team that you will have on your stand and available for meetings. Step 1: Login using your "Exhibitor Credentials" Step 2: Go to "Edit Profile" Step 3: Navigate to the tab "Team Members" Step 4: Click on ...Exhibitor Dashboard
Once the exhibitor is registered for the event after filling in all the necessary details in the registration form and is approved from the organiser to exhibit. This is what an "Exhibitor Dashboard" looks like after logging into the profile. It ...Reaching Your Audience
Keep in mind the below points in order to increase the overall effectiveness of your company profile. Fill in all the relevant fields about your brand in My Profile section. For example: you can upload Company Logo, add basic Company Details (contact ...Editing Your Exhibitor Profile
If you have logged in as a team member, you will first need to switch to editing the exhibitor profile (if you have admin privileges). After logging into the profile you will be redirected to your exhibitor Dashboard. Edit Profile: After clicking on ...Matchmaking
The matchmaking algorithm uses product categories selected by you at the time of registration and provides recommendations unique to you. The algorithm will keep learning your preferences as you use the system, improving the accuracy of the ...